New Show: “What This Is?”

My friend Flo and I just hung a new show of my work at Blue Sky Bakery in Park Slope, Brooklyn. We will have an opening from 6-9PM on Tuesday, December 7. In the meantime, the photos are on the wall and ready to be seen.

The name of the show is my favorite question that my two-year-old son poses all the time. He points to something, or picks something up, and looks up to us and says “what this is?” I think that’s what I’m doing when I take a photograph.

All the photographs are printed with archival inks (true gray and black inks for the black and white prints) on archival paper.

Can you think of a better holiday gift than an archival print of mine? (I’m sure you can, but just let me ride this wave…)

David Bivins
“What This Is?”
Glimpses of Brooklyn and Manhattan, 2005-2010

Opening reception, Tuesday, December 7, 2010, from 6-9PM
Blue Sky Bakery
53 Fifth Avenue, Park Slope, Brooklyn
easy access from the 2,3 at Bergen or Atlantic, 4,5,B,D,N,Q,R at Atlantic Avenue/Pacific Street

Minolta MC Rokkor-PG 58mm 1:1.2

The Rokkor-PG 58mm 1:1.2 lens has a unique signature and is quite beautiful. It’s of the MC era, so it is not capable of working in shutter priority mode. It will work in aperture priority mode though. This is what’s so great about the Minolta SLR system: until the Maxxum auto focus lenses, all lenses were compatible with all bodies, forward and backward. You might lose some features, but the worst that would happen is that you would shoot in manual mode, which is hopefully how you learned to take photos in the first place.

Minolta MC Rokkor-PG 58mm 1:1.2

The beast

Anyway, just look at this beast. These MC lenses had beautiful knurled focus rings, all metal. No rubber grippy stuff here. A silver aperture ring with black engraved f-stops. The lens information engraved in white on the front of the focusing ring. A unique look for sure. And that glass, oooooh that lovely, fat, fast glass. This was an early type of coating for Minolta, and supposedly some of the coatings have not lasted as well as others. (Edit: This may not be true. See the comments below.)

I do keep a vintage Minolta 1B skylight filter on it when I’m shooting “bare,” and I often use colored filters on it for shooting black and white. I happened upon a nice collection of Minolta 55mm filters at some point, and they’re interesting to use. Nowadays, most people shoot digital, and they shoot color for black and white and do all their manipulations in Photoshop or Lightroom or whatever. Deliberately choosing a yellow, orange, or red filter as you’re shooting forces you to look at what you’re doing in a different way and creates more opportunities. I guarantee to you that having a red filter and black and white film loaded in your camera will have you looking at the sky a lot more often.

Brooklyn, 4th Avenue Marathon Route, taken with Minolta XD 11 and Minolta MC Rokkor-PG 58mm 1:1.2 with red filter

Brooklyn, 4th Avenue Marathon Route, taken with Minolta XD 11 and Minolta MC Rokkor-PG 58mm 1:1.2 with red filter, Tri-X (Arista Premium 400), Diafine.

The Empire State Building

Empire! Taken with Minolta XD 11 and MC Rokkor-PG 58mm 1:1.2, Tri-X (Arista Premium 400), Diafine. This lens makes images like no other.

Shaun

Shaun, taken with Minolta XD 11, MC Rokkor-PG 58mm 1:1.2, Tri-X (Arista Premium 400), Diafine. This lens helps create lovely portraits thanks to its thin depth-of-field wide open and short focusing distance.

Chinese take-out black and white photograph

Chinese take-out, 4th Avenue, Brooklyn, taken with Minolta XD 11, MC Rokkor-PG 58mm 1:1.2, Tri-X (Arista Premium 400), Diafine. Obviously with a lens this fast, night photography is a little easier.

This Week’s Model: Minolta XD 11

Minolta XD 11

Minolta XD 11 with Minolta MC Rokkor-PG 1:1.2 f=58mm. Taken with Crown Graphic, Optar 135mm f/4.7, Fujifilm FP-100B45

My first SLR was a Minolta SR-T 101, given to me by my dad, which was awesome because that was the camera he shot with, too. When I reengaged with photography some years ago, I built out my Minolta kit, eventually trying some of the newer electromechanical bodies and picking up lots of lenses. These days, Minolta glass is very inexpensive and an incredible value for the money. This was high quality stuff, and perhaps because they never truly found their pro market, they were forgotten in the dust of Nikon and Canon. Shame, really, but for today’s gear scavenger, it’s a blessing.
Read more…

A photo preview: heavy Minolta, heavy glass

I’m going to talk about some Minolta gear next week, so to whet your appetite I’m posting this photo I took a few years ago.

Chihiro, taken with Minolta XD 11 and Rokkor 58mm 1:1.2 lens

Chihiro, taken with Minolta XD 11 and Rokkor 58mm 1:1.2 lens with red filter, on Tri-X, developed in Diafine

What’s happening

I took this while waiting with our dog, Chihiro, outside a health food store while my sweetheart was inside getting a smoothie. I had scored a nice set of original Minolta filters, all 55mm, recently.

How I did it

On this day, I had mounted the red filter on the venerable Minolta Rokkor-PG 58mm 1:1.2 lens. While sitting on the bench outside the shop, I asked Chihiro to pose and took this shot. Chihiro is quite red, so the effect of using the red filter, which is traditionally used to darken blue skies, is quite dramatic. Look at the photo below to see the difference. The extremely shallow depth of field afforded by this lens when shot wide open allowed me to focus on Chihiro’s eyes and let the rest of her features fall out of focus. The out-of-focus blur is accentuated by my choice of film and developer: Tri-X 400 and Diafine. Diafine gives Tri-X a natural “push” to anywhere between 1000 and 1600ISO. I shoot it at about 1250ISO when I’m going to use Diafine. I love the grain that results from this combination. It’s not obnoxiously large like you get with TMAX3200 or Delta 3200, but is still pronounced.

Chihiro, Minolta X570, Kodachrome

Chihiro in color (for reference), taken with a Minolta X570 on Kodachrome


I’ll be writing more about Minolta gear next week, focusing on the XD 11 body and various lenses. If you have a special request, let me know in the comments!

I think I’m in love: stand development in Rodinal

Whitehall Street Station, 7:45PM, September 25, 2010

Lens: over 50 years old. Camera: over 70. Developer: over 100.

I went to a friend’s bachelor party/dinner this weekend, and knowing everyone would have their iPhones and digicams handy, I decided to be a little different. I wasn’t going to be bringing a bag (I ALWAYS seem to have a bag), so I brought the relatively petite Leica IIIa (my happy accidents camera), mounted with a 50mm collapsible Summicron and loaded with Tri-X. I’m terrible at metering-by-eye in low light, but I didn’t want to bring my Voigtlander VCII shoe-mount light meter and make the camera any bigger. Read more…

Accidents Happy and Unhappy

The Rondelles at The Bell House, Brooklyn, July 9, 2010

Unintentional but luckily welcome

Like many users, I imagine, I have a love/hate relationship with the Leica III series of cameras. These were the last Leica “screwmount” cameras and have an attractive old-fashioned look.  (They are called “screwmount” because the lens screws into the camera body, rather than having a turn-and-click bayonet mount found in the more contemporary Leica M series and most other removable-lens cameras. Cameras and especially lenses are often also called LTM, for Leica Thread Mount, in order to differentiate them from other mount types.) When they work correctly, and when the user is using them correctly, they are a joy to use. With a collapsible lens, they fit nicely into a jacket or cargo pants pocket. They have quiet shutters and a quaint, non-threatening look.

They’re also a pain to use, compared to a lot of cameras. Like all Leica rangefinders, you have to partially disassemble the camera to load and remove film. You have to pull out a take-up spool and attach your carefully re-cut film leader to it, then slide the whole mess (cartridge, loose film, and spool) back into the tiny, dark cavern of the camera, make sure the camera sprockets are taking up the film correctly and not chewing it up, then close the whole thing up.

Until Through the last screwmount model (the IIIg) you focused using one viewfinder and framed with the other (the IIIg combined the two). (Thanks to Hongjoo Lee for the correction – see comments below.) It’s not a “fast” shooter in that respect unless you’re estimating distance or hyperfocal focusing or otherwise not caring about adjusting focus or composition with the viewfinder. An accessory viewfinder (sliding into the shoe on the top deck of the camera) is often a good idea, but creates an awkward silhouette that makes the whole apparatus less pocket-able.

Leica III with Jupiter 3 lens

Isn’t it pretty?

So why use this thing? Because it’s cool. It’s fun to use. It’s quiet. It’s unusual wind mechanism (to someone who started on an SLR) is subtle. It looks awesome. And as I pointed out above, it’s not threatening. People think it’s an antique, a dusty old curiosity being brought out for some fresh air. But it’s just as capable a camera as any other 35mm rangefinder.

But back to my headline: one of the more common problems I’ve personally experienced is a dodgy film advance. This is likely a combination of user fault and equipment cleanliness/lubrication. It’s important to make sure the sprockets are pulling the film when you advance it, that the take-up reel is firmly pinching the end of the film, that the new leader you cut is gliding through the back of the camera smoothly, and that you didn’t leave slack in the cartridge. (And, for overzealous users or those who lose count, like me, that you didn’t load the cartridge with too much film.)

What you get when the film doesn’t advance enough, of course, is frames that overlap each other like the above and below shots. Luckily, I love them! In order to get anything at all in this club, I deliberately underexposed the shots, hoping the highlights would be enough to define each scene. In this case, each overlapping section is getting an additional exposure, bringing some variety to the light. It also brings a sense of movement and excitement to the scene, which is perfect for The Rondelles and their high-energy, explosive punk-pop sound.

But alas, there’s no button on my Leica which allows me to do this on command (there actually is such a thing on some other cameras). I could have it modified, but I don’t like doing that to my cameras. Instead, I’ll just continue to shoot these old, brass gems and hope that my accidents are always happy.

The Rondelles seen through a Leica needing cleaning

The Rondelles at The Bell House, Brooklyn, July 9, 2010

The Readers in Pittsburgh

I’m really excited to be part of this show in Pittsburgh in July:

The Carnegie Library of Pittsburgh and the Greater Pittsburgh Literacy Council present The Readers.

During the month of July 2010, photos from David Bivins, NYC, and writings from GLPC students will be on display in the Gallery at Carnegie Library Main.

There will be an opening reception Sunday, July 11, 2010 from 1pm to 3pm in the Large Print Room First Floor.

Thanks, Jude!

See The Readers here: http://www.flickr.com/photos/davidbivins/sets/72157613563904996/

Come to my stoop, get some Polaroid

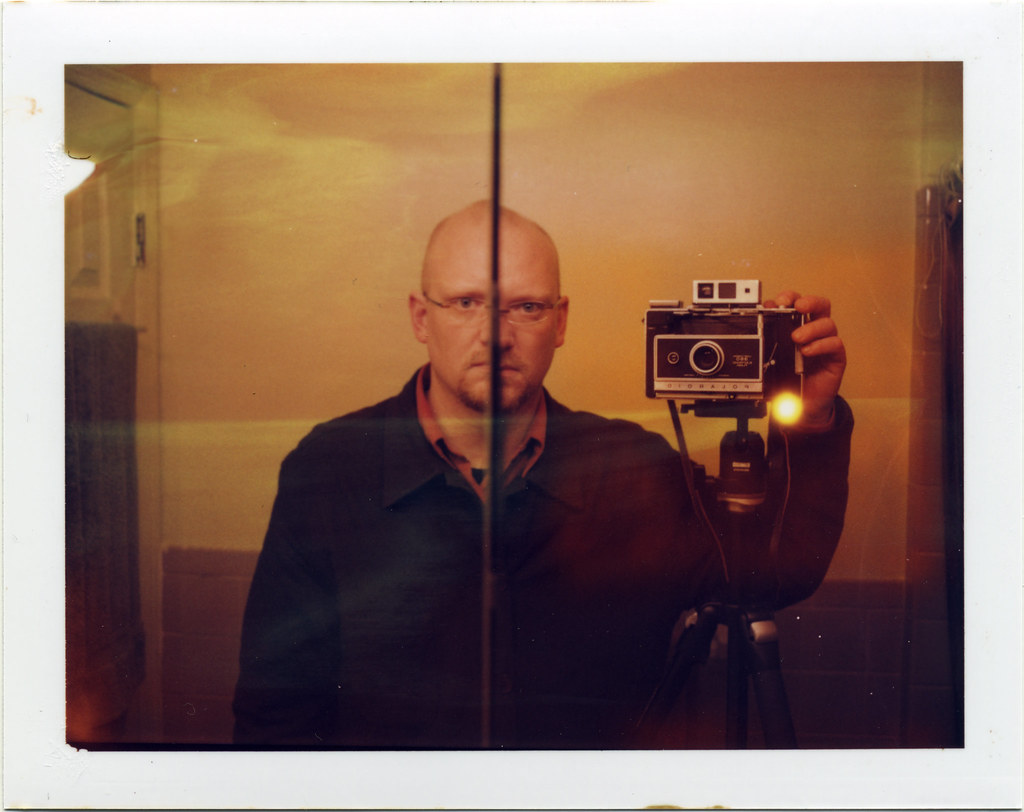
I love Polaroid cameras and instant film. For years, I’ve “rescued” cameras from thrift stores, online auctions, and anywhere else I’ve seen them. Polaroid pack film cameras last forever, with some exceptions, and many of the models are of extremely high quality, with glass lenses, high quality viewfinders and rangefinders, and durable construction. Film is still available and will be for the foreseeable future, as Fujifilm continues to manufacture it, and aftermarket batteries are available.

Ryan Harrison

We’re having a stoop sale this Sunday, June 6, 2010, on Sunday, June 20, and I’m getting rid of most of this stuff. It’s not right for me to hoard all the good cameras–and the film. That’s right, I bought a sh*tload of Polaroid film when the company announced it was ceasing production, and someone should use it. I have some cool, unique stuff, too, like 100 speed color grid film (the developed film has a grid overlaying the image).

If you’re thinking to yourself “oh no, I missed the stoop sale! I couldn’t afford the ticket to New York!” or something of the sort, don’t fret. You’re still in the game. I’ll tell you how to get your kit together.

For simplicity’s sake and their quality, I would recommend one of the following models: Automatic 100 (not the older 100 which was for roll film), 250, 350, 360, 450. Each has a glass lens of higher quality than the cheaper, plastic models, a fold-down Zeiss rangefinder, tripod mount, etc. There are other models, including higher-end, more professional models, as well as cheaper models missing tripod mounts, having more plastic, etc. There are also neat oddballs like the Big Shot that I might write about another time.

Then you’ll need a battery. The later models actually have space for two batteries, but one is for an electronic timer (used to time the development of the film, which you can do in your head or with a watch), which you don’t really need.

Automatic 100 and 250 use a 4.5V 531 alkaline battery. Do a search and compare prices.

350, 360, and 450 use a single (or two if you’re a completist) 3.0V 532 alkaline battery.

Fujifilm makes FP-100C (100 speed color) and FP-3000B (3000 speed black and white) films, which are similar to Polaroid’s discontinued 669 and 667 films, respectively. You can buy them at pro camera stores or online.

These cameras set shutter speed automatically and use a fixed aperture. All you do is focus using the integrated rangefinder system. Cock the shutter, press the shutter release, pull out the tab, then pull the film out, through the rollers. The rollers squeeze the magic goo that develops the film all over the photo. After 60-90 seconds, depending on the film, you can peel the photo away from the chemical backing.

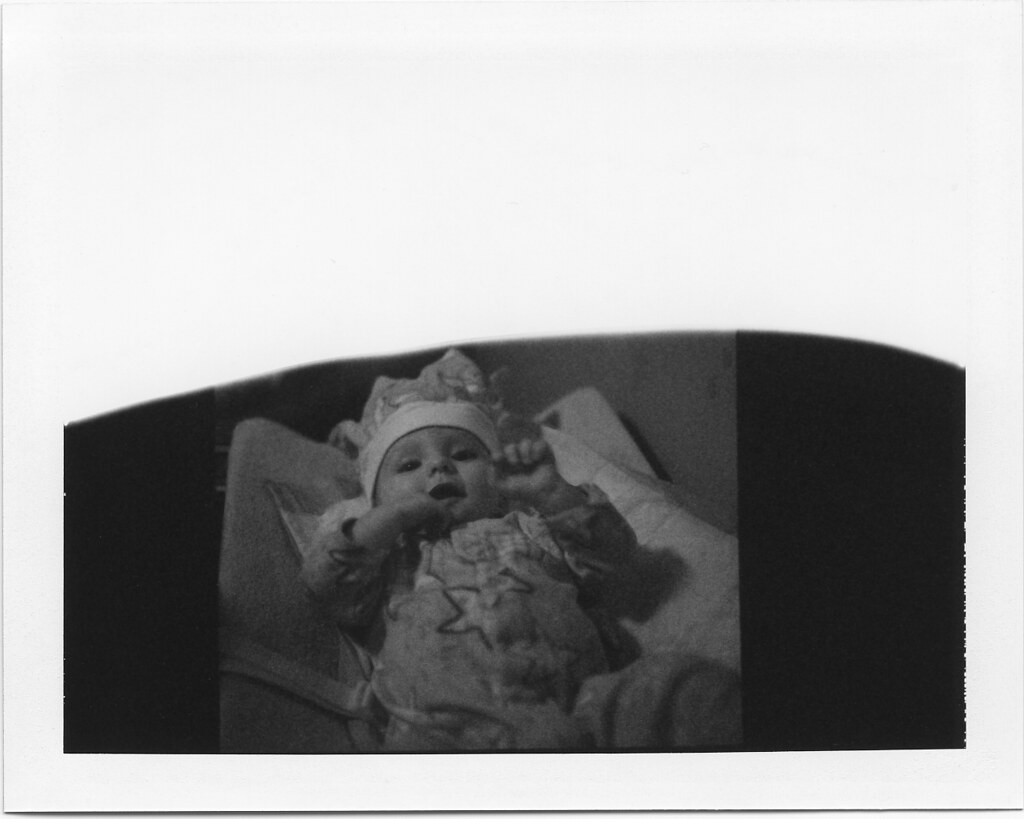
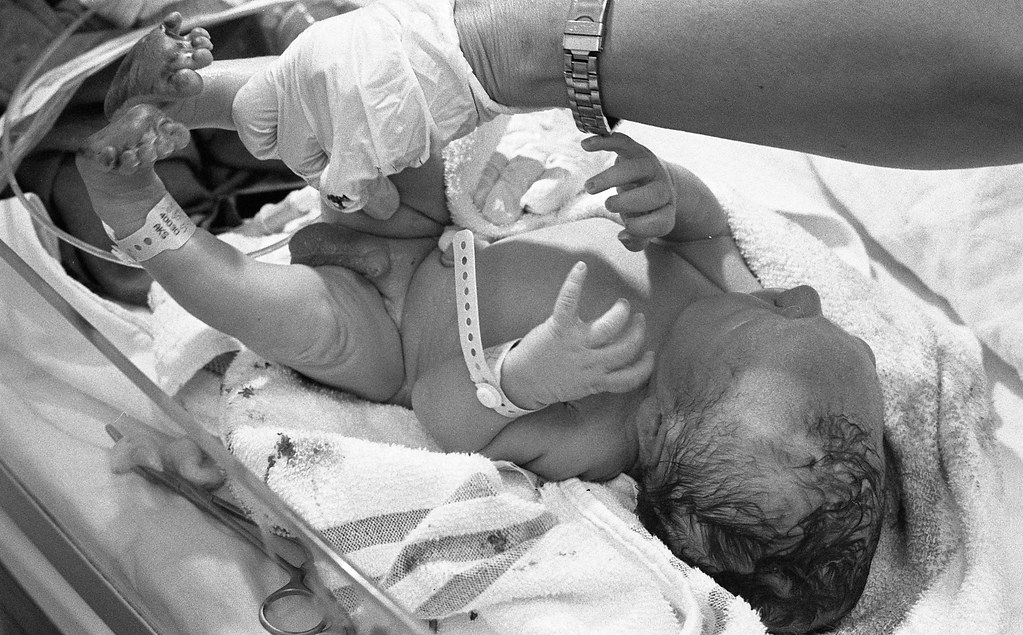
The King of Bedtime, taken with a Hasselblad 500C/M and a Polaroid back, expired 667 film

The pack films can also be used with Polaroid backs, such as the one I have for my Hasselblad. They’re available for most medium format cameras–there’s a Holga with integrated Polaroid back, too.

You can learn more about Polaroid pack film cameras (and more) at this amazing, valuable resource for Polaroid enthusiasts: http://www.rwhirled.com/landlist/landhome.htm

And here’s a video promoting my stoop sale:

I heart Adox CMS 20

Respect.

Like velvet. Shot with a Leica MP and 35mm Summicron (IV).

Personal Best

Two years ago, I had the most incredible and satisfying photography assignment: the birth of our son.  The circumstances weren’t ideal. My wife labored with a midwife, our doula, and me in the room, and after a few hours of pushing, our baby’s heart rate would go down with each contraction. Our ideal, natural childbirth became more and more medicalized–first an IV, then an epidural, and finally a Cesarean section.

Over 24 hours into the process, my wife was wheeled into the operating room. I was given a blue, gauzy suit with footies, a jumpsuit of sorts, and a cap. As the nurse led me to the OR, she turned and said “where’s your camera?” I had assumed photography wasn’t allowed in the OR, so I hadn’t considered it. In the space of a few seconds, which felt like minutes, I considered: should I grab my Leica MP and shoot Tri-X, my tried and true system, fraught with the danger of fogged film, botched development, scratches, and everything else? Or should I just grab the digital point-and-shoot and be done with it? I grabbed the Leica.

I stood at my wife’s head, behind a blue curtain intended to shield us from the bloody business happening on the other side. Our midwife was on the other side of my wife, coolly talking my wife through what was happening as she peered over the curtain. I held my wife’s hand and focused on her, trying to be as reassuring as a sleep-deprived nervous wreck of a father-to-be can be.

Suddenly our midwife snapped at me “take the picture!” I brought the camera to my eye, looked over the curtain, and in what I must credit to practice, took this photograph:

Hello, world!

Amidst the tears, the smiles, and the sheer joy in the operating room, I was quickly barked at to take more photos.

There seemed to be a hundred people in the operating room, each with a purpose. The one whose purpose was to carry our son to the scale and weigh him urged “make sure to get the weight in the photo!” I dutifully obliged.

Good idea: get the weight in the photo

Nursing for the first time

Sadly, mother and son were separated for several hours while my wife recovered and our son was taken to the nursery to be cleaned up. Fortunately, I was able to stay with my son while my wife rested. I kept asking “can I take pictures?” at every step, and everyone said “of course!”

Staying warm on the way to the nursery

Being monitored

Getting cleaned up

First bath

Resting

I did finally get yelled at (politely) for taking a photo from outside the nursery. Apparently you can only take photographs of your own kid, and shooting from outside the door carries the risk of capturing other infants in the frame.

In the nursery

Mother and son finally reunited in our hospital room

Resting in the bassinet

My experience of fatherhood has been amazing and awesome. I feel privileged to have been able to spend the first few hours of my sons life with him. I changed his first diaper. In fact, we learned much later that many parents buzz the nurses to change diapers and bring the infant back to the nursery so the parents can get some rest. We just stared at the little guy, my wife resting when she could (there is no such thing as rest in a hospital room, really) and me taking more photos and sending the obligatory emails to family and friends. Because of the recovery from the C-section, we were in the hospital for several days. But those days were a wonderful bonding experience for us–our little family in a single room, getting to know each other without having to worry about the outside world.

Stepping out of my sappy story and back into photography, I have to say that I was really happy to develop these films and have them turn out as well as they did. I had been thrown into an intense assignment and I was up to it. My instincts took over when my brain was exhausted and anxious, and I got the shots. Shooting almost every day is good practice. Shooting with the same kit most of the time is great practice.

My son is still my favorite subject. I’m not sure how much I’m warping him, taking as many photos as I do. More than one person joked that he’s only going to know his dad as the guy with the black camera stuck to his face. But now, a few hours before the two-year anniversary of his birth, I can say without hesitation that I don’t regret a single photo I’ve taken of him.

My son, days from his 2nd birthday